
 |
| freshly picked capers |
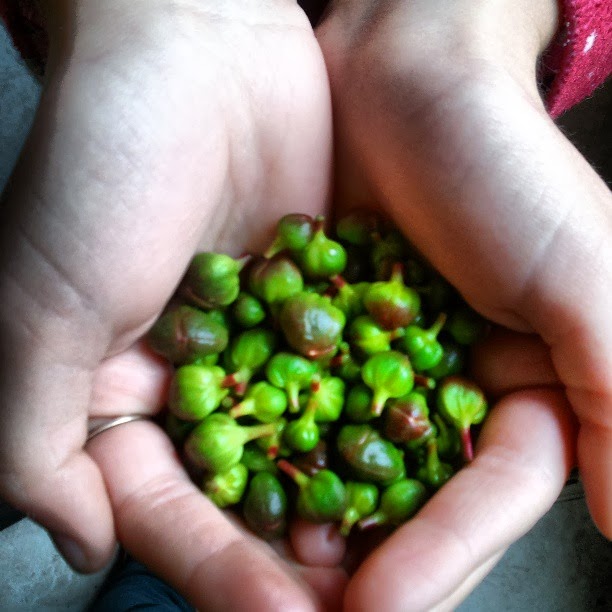
Contrary to what you might believe, capers do actually grow on plants. And the really cool thing is that they grow GREAT in San Diego and anyplace with a Mediterranean climate.
 |
| Our caper bush. You can see it better if you click on it |
Many options are available for curing, but the easiest way is just to use salt. Pack the just-picked flower buds with salt in a small jar and let them sit for a few weeks. Wala! You have salt-packed capers. Side note- rinse them well before you throw them in your pasta dish or you'll be sorry! My favorite option, however, is lacto-fermentation and it works well for the berries, the leaves and the capers themselves. Lacto-fermentation is also great for adding beneficial flora to your diet, so you have a good excuse to throw delicious capers and caper berries on everything! Here is an easy recipe:
Water
Salt
Capers, caper berries and or caper leaves
Pick all your caper parts and put them in a glass jar. Cover with water and let sit for 5 or 6 days. Rinse and change the water every day, making sure everything is covered with water. This phase stinks! Soaking removes oils from the plant that you don't want to eat, and it's totally normal for it to smell really bad, don't worry. Just keep rinsing and covering with water
.
After about 5-6 days, it shouldn't really stink any more. Now, mix some clean water (filtered so you don't have chlorine) with salt and pour it over your capers. A good ratio is 1 tablespoon of salt for every cup of water (capers are salty) but this is totally up to you. Make sure that your capers are covered with the brine, and put them in nice spot on the back of your counter top and let them sit for a few more days. Make sure they are covered with either a lid or a clean cloth to keep stuff out. After two or three days, taste them. See what you think. If you want them saltier or more pickle-y, let them sit out for another day or two. Once you like what you taste, store them in the fridge to stop the fermentation process. These will store pretty much forever, but they probably won't last that long.
 |
| salt cured capers |
No comments:
Post a Comment